How to Manage Outdoor Camera Glare: A Definitive Editorial Guide
In the field of optical surveillance, the transition from controlled indoor environments to the volatile theater of the outdoors introduces a host of photonic challenges. Among these, glare represents perhaps the most persistent obstacle to achieving high-fidelity imagery. How to Manage Outdoor Camera Glare. Whether originating from the direct celestial path of the sun or reflecting off anthropogenic surfaces like glass, water, or automotive finishes, stray light can overwhelm a camera’s image sensor, rendering expensive security assets functionally blind at critical moments.
The complexity of managing light artifacts is often underestimated in residential and light commercial planning. It is a common error to assume that higher-resolution sensors or more advanced software can simply “process out” the effects of severe overexposure. In reality, once a sensor’s pixels are saturated beyond their full-well capacity, the resulting data loss is irreversible. This necessitates a preventative strategy—one that prioritizes optical physics and physical positioning over digital post-processing.
A comprehensive approach to perimeter security must treat light as a dynamic variable. The path of the sun shifts across the seasons, and urban environments are subject to changing light signatures from neighboring properties and passing traffic. Therefore, establishing a resilient surveillance posture requires a deep understanding of how to mitigate these optical interferences at the source. This exploration serves as a definitive reference for property managers and security professionals seeking to harden their visual assets against the degradations of stray light.
Understanding “how to manage outdoor camera glare”
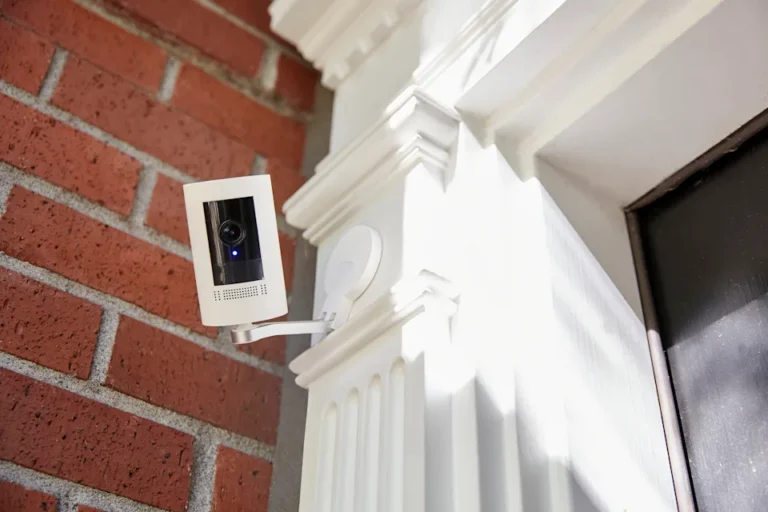
To effectively address “how to manage outdoor camera glare,” one must first categorize the phenomenon into its two primary forms: direct and indirect. Direct glare, or lens flare, occurs when a high-intensity light source—usually the sun—resides within or just outside the camera’s field of view (FOV). This creates internal reflections within the lens elements, manifesting as geometric artifacts or a “milky” wash that flattens contrast. Indirect glare, conversely, is the result of light reflecting off external surfaces. A camera pointed at a north-facing driveway might be blind for two hours every afternoon simply because of the reflection from a neighbor’s window or a nearby pool.
A multi-perspective view of this problem reveals that it is not merely a “daytime issue.” Modern surveillance relies heavily on Active Infrared (IR) illumination for night vision. In these contexts, glare often manifests as “IR washout” or “backscatter,” where the camera’s own light reflects off a nearby wall, spider web, or falling precipitation, causing the foreground to be overexposed while the background remains in total darkness. Oversimplifying the solution to “moving the camera” frequently ignores the strategic necessity of the camera’s specific vantage point; moving the device might fix the glare but create a blind spot in the security perimeter.
Risks of oversimplification also extend to the reliance on Wide Dynamic Range (WDR). While digital WDR and true (multi-exposure) WDR can balance scenes with high contrast, they have limits. When light strikes a lens at a specific oblique angle, it creates “veiling glare,” which reduces the signal-to-noise ratio across the entire frame. No amount of software-based tone mapping can reconstruct the facial features of an intruder if the sensor’s dynamic range has been completely bypassed by a stray photon flood.
The Systemic Evolution of Optical Shielding How to Manage Outdoor Camera Glare
The history of managing light in surveillance mirrors the evolution of photography itself. Early analog CCTV systems were extremely vulnerable to “burning” or “blooming,” where bright lights could permanently damage the vacuum tubes used in cameras. As we transitioned to Charge-Coupled Device (CCD) and later Complementary Metal-Oxide-Semiconductor (CMOS) sensors, the hardware became more resilient, but the fundamental optical challenges remained.
Historically, the primary tool for glare mitigation was the physical “sunshield”—a simple plastic or metal brim extended over the lens. As systems became more sophisticated, manufacturers began incorporating multi-layer anti-reflective (AR) coatings on the glass. The current era represents a convergence of physical optics and computational photography. We now see the integration of motorized varifocal lenses that can adjust the FOV to exclude light sources and polarized filters that can be used to cut through reflections from non-metallic surfaces.
Conceptual Frameworks: The Physics of Light Interference
To master light management, one must apply specific mental models derived from optics and environmental science.
The Angle of Incidence vs. Angle of Reflection
This fundamental rule of physics dictates that light will reflect off a surface at the same angle it hits it. By mapping the sun’s path relative to reflective surfaces (like a pond or a glass facade), a technician can predict exactly when “reflection glare” will occur. This allows for the precise angling of the camera—often just a few degrees—to ensure the sensor is not in the path of the reflected light.
The Dynamic Range Ceiling
Think of a sensor as a bucket and photons as water. Once the bucket is full, additional water just spills over, creating a “white out.” Digital surveillance is a race to keep the “water level” of the brightest part of the scene below the rim of the bucket while still having enough water in the dark parts to see detail. Understanding this ceiling is critical when configuring shutter speeds and gain control.
The Fresnel Effect
This framework explains why glare changes based on the viewer’s (or camera’s) angle. At a shallow angle, even a relatively matte surface can become highly reflective. When planning an outdoor installation, one must consider not just the surface material, but the elevation of the camera relative to that surface.
Taxonomy of Glare Sources and Mitigation Modalities
Mitigation strategies are rarely universal; they must be tailored to the specific type of interference.
| Glare Source | Primary Mechanism | Mitigation Modality | Trade-off |
| Direct Solar | Lens Flare / Saturation | External Shroud / Sun Hood | Limits upward FOV |
| Specular (Glass/Water) | Polarized Reflection | Circular Polarizing (CPL) Filter | Reduces total light (f-stop loss) |
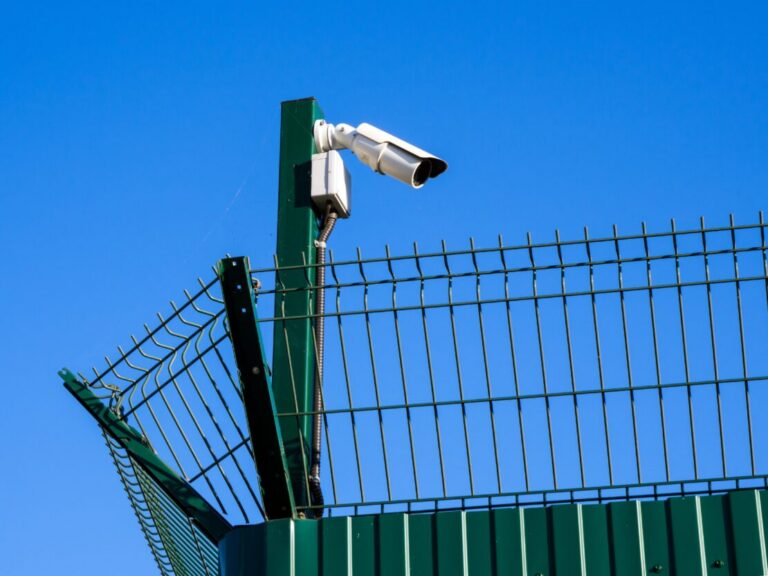
| IR Backscatter | Self-reflection (Night) | External IR Illuminator | Increased power/wiring cost |
| Surface Albedo | High-contrast washout | True WDR (Multi-exposure) | Potential motion blur |
| Atmospheric | Fog/Mist Scattering | Defog Algorithms / Optical Long-pass | Reduced color accuracy |
Realistic Decision Logic
If the goal is to monitor a parking lot with significant afternoon sun, the first step is physical: a deep sun hood. If the glare persists due to the white concrete, the second step is optical: a polarized filter. Only after these physical interventions should one rely on the camera’s digital WDR settings.
Real-World Implementation Scenarios How to Manage Outdoor Camera Glare
Scenario 1: The South-Facing Entryway
In the Northern Hemisphere, south-facing cameras endure constant solar pressure. A camera mounted directly under a dark eave often suffers from “silhouette effect,” where the background is perfectly exposed but the subject’s face is black.
-
Mitigation: Implement a deep, matte-black sunshield to prevent light from hitting the lens at an angle. Set the camera to “Backlight Compensation” (BLC) mode to prioritize the subject over the background.
Scenario 2: The Poolside Perimeter
Water creates a constant shifting specular glare that can trigger false motion alerts in addition to blinding the sensor.
-
Mitigation: Use a circular polarizer to “cut” the reflected light. Position the camera at a higher elevation to increase the angle of incidence, reducing the intensity of the reflection captured by the lens.
Scenario 3: The License Plate Capture Zone
License plates are highly retroreflective. At night, a camera’s own IR light will bounce off the plate, turning it into a glowing white rectangle with no readable characters.
-
Mitigation: Disable internal IR. Use an external IR lamp offset by 10-15 feet. This ensures the reflected light does not return directly to the lens, allowing the plate’s characters to remain visible.
Planning, Cost, and Resource Dynamics
Addressing glare is an investment in data integrity. The costs are often bifurcated between hardware acquisition and the labor of iterative testing.
| Resource | Entry-Level | Professional | Enterprise |
| Hardware | Integrated sunshields | CPL Filter kits / True WDR | Specialized “Anti-Glare” optics |
| Testing | Visual check at noon | 24-hour time-lapse audit | Seasonal solar-path modeling |
| Cost Range | $0 – $50 | $200 – $800 | $1,500+ |
Direct costs, such as purchasing a high-end WDR camera, are often offset by the reduction in “opportunity cost”—the cost of a security event that went unrecorded because of a glare-induced blind spot.
Tools, Strategies, and Support Systems
-
Circular Polarizing (CPL) Filters: These are the most effective tools for removing glare from non-metallic surfaces. They must be manually rotated to the correct orientation.
-
External IR Illuminators: By moving the light source away from the lens, you eliminate “backscatter” from rain, snow, or bugs.
-
Anti-Reflective (AR) Glass Treatments: Specialized sprays or replacement glass for camera housings that reduce internal bounce.
-
Matte Pavements/Surfaces: In high-security areas, replacing white gravel or light concrete with darker, non-reflective materials can solve glare at the source.
-
Shutter Speed Manual Overrides: Forcing a faster shutter speed can prevent pixel saturation in high-brightness scenarios.
-
Privacy Masking (Software): Not for glare directly, but can be used to “black out” a constant light source (like a street lamp) that is causing the camera’s auto-exposure to miscalculate.
Risk Landscape and Failure Modes
Ignoring glare leads to a “false sense of security.” A system may look perfect at 10:00 AM, but if it is blind at 4:00 PM when most residential burglaries occur, the system has failed.
-
Compounding Risks: Glare doesn’t just hide intruders; it ruins motion detection algorithms. Specular glare from a moving car can trigger a flood of false alerts, causing the user to ignore notifications—a phenomenon known as “alarm fatigue.”
-
Physical Degradation: Constant exposure to high-intensity direct sun can yellow the plastic lens covers or sunshields over time, which in turn creates a “haze” that increases glare. This is a compounding failure mode that requires physical intervention.
Governance, Maintenance, and Long-Term Adaptation
A security plan is not a static document. Because the sun’s zenith and azimuth change throughout the year, a glare-free image in June may be compromised in December.
Seasonal Review Cycles
-
Equinox Audit: Perform a full-day visual audit of all camera feeds during the spring and fall equinoxes. These represent the mid-points of solar travel.
-
Solstice Check: The winter solstice provides the “longest shadows” and lowest solar angles, which often introduce glare into cameras that are otherwise protected during the summer.
Maintenance Checklist
-
Lens Polishing: Use specific optical cleaners to remove salt spray or mineral deposits from sprinklers, both of which catch light and create glare.
-
Hood Alignment: Ensure sunshields haven’t shifted due to wind or bird activity.
-
Firmware Updates: Manufacturers often release improved WDR and tone-mapping algorithms that can be applied to existing hardware.
Measurement, Tracking, and Evaluation
How do we quantify “success” in glare management? We use a combination of qualitative and quantitative signals.
-
Contrast Ratio Tracking: Using a standard Macbeth chart or similar reference in the field of view to measure if the system maintains at least 10:1 contrast during peak glare hours.
-
Bitrate Stability: Glare often introduces “noise” into a digital stream. A sudden, unexplained spike in the bitrate of a static scene during a specific time of day is a leading indicator of optical interference.
-
False-Trigger Metrics: Tracking the number of motion alerts versus actual events. A high correlation between sun position and alerts indicates a glare problem.
Common Misconceptions and Myths
-
Myth: “Higher resolution cameras handle glare better.”
-
Correction: Higher resolution often means smaller pixels, which can actually have a lower “full-well capacity,” making them more prone to saturation than lower-resolution sensors.
-
-
Myth: “WDR fixes everything.”
-
Correction: Digital WDR creates artifacts and “haloing.” It is a supplement to good positioning, not a replacement.
-
-
Myth: “Moving the camera is always the best option.”
-
Correction: Relocating a camera can create gaps in coverage. Often, a $20 polarizing filter is a better solution than a $500 labor charge to move a mounting bracket.
-
-
Myth: “Night vision glare is caused by heat.”
-
Correction: Night vision glare is almost always optical reflection (IR) and has nothing to do with the temperature of the object.
-
Conclusion
Mastering “how to manage outdoor camera glare” is an exercise in respecting the power of light. A truly resilient surveillance system is one that acknowledges the limitations of its hardware and seeks to mitigate environmental variables before they ever reach the sensor. By prioritizing physical shielding, utilizing optical filters, and maintaining a rigorous seasonal audit schedule, property owners can ensure their security assets remain vigilant regardless of the sun’s position. Surveillance is, at its heart, the management of photons; those who manage them best are those who see the most.