Common Outdoor Camera Installation Mistakes: A Professional
The deployment of an outdoor surveillance system is often perceived as a straightforward hardware installation—a task of mounting brackets and connecting cables. However, the transition from a laboratory-tested device to a functional security asset in the volatile theater of the outdoors is fraught with technical nuances. Common Outdoor Camera Installation Mistakes. The difference between a system that provides actionable intelligence and one that merely records unidentifiable digital noise lies in the precision of its execution.
Perimeter surveillance exists at the intersection of optical physics, network engineering, and environmental science. A camera’s effectiveness is not determined by its price tag alone but by its relationship with light, height, and the physical architecture it inhabits. When these variables are ignored, the result is a systemic failure that often remains hidden until a security breach occurs and the footage is found to be useless.
This analysis serves as a definitive reference for identifying and rectifying the architectural and strategic errors that compromise outdoor monitoring. By deconstructing the most prevalent errors in the field, we can establish a framework for high-fidelity surveillance that remains resilient across seasons and technological shifts. The goal is to move beyond the “plug-and-play” mentality and toward a disciplined approach to security engineering.
Understanding “common outdoor camera installation mistakes”
The prevalence of common outdoor camera installation mistakes is largely a byproduct of the democratization of security hardware. As professional-grade sensors have become available at consumer price points, the specialized knowledge required to install them has not scaled at the same rate. This has created a gap between the theoretical capabilities of a 4K sensor and the practical reality of its output. A common misunderstanding is that “higher resolution” compensates for poor placement; in reality, a 4K image of a glare-obscured subject is less useful than a 1080p image with proper exposure and angle.
One of the most significant oversimplifications involves the “Field of View” (FOV) fallacy. Installers frequently attempt to cover as much ground as possible with a single wide-angle lens. While this provides a broad overview of an area, it drastically reduces the “Pixels Per Foot” (PPF) at a distance. If a camera is positioned to view an entire parking lot, it will lack the density required to identify a face or a license plate at the far end of that lot. High-fidelity plans avoid this by distinguishing between “Detection” zones (wide) and “Identification” zones (narrow).
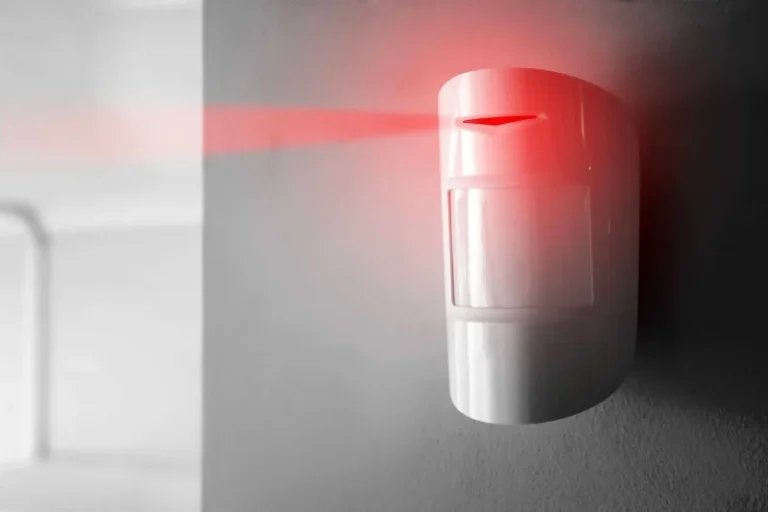
Furthermore, there is a systemic failure to account for the “Dynamic Range” of the outdoor environment. The sun is a moving light source that dictates the quality of the image throughout the day. A camera that works perfectly at noon may be completely blinded at 4:00 PM by direct solar glare or rendered useless at night by its own Infrared (IR) reflections off a nearby wall. These mistakes are not just hardware errors; they are failures of environmental analysis.
The Evolution of Surveillance Implementation
Historically, surveillance was the domain of specialized technicians who handled analog systems. These systems were limited by the physical constraints of coaxial cable and the low resolution of NTSC/PAL standards. Because the hardware was so expensive, the planning was necessarily rigorous. Each camera’s position was calculated to maximize the utility of the limited bandwidth.
The shift to Internet Protocol (IP) cameras and Power over Ethernet (PoE) revolutionized the industry by simplifying the “connection” phase. However, this ease of installation encouraged a “trial and error” approach. The focus shifted from optical precision to network connectivity. We saw a rise in cameras mounted in locations simply because they were easy to wire, rather than because they offered the best vantage point.
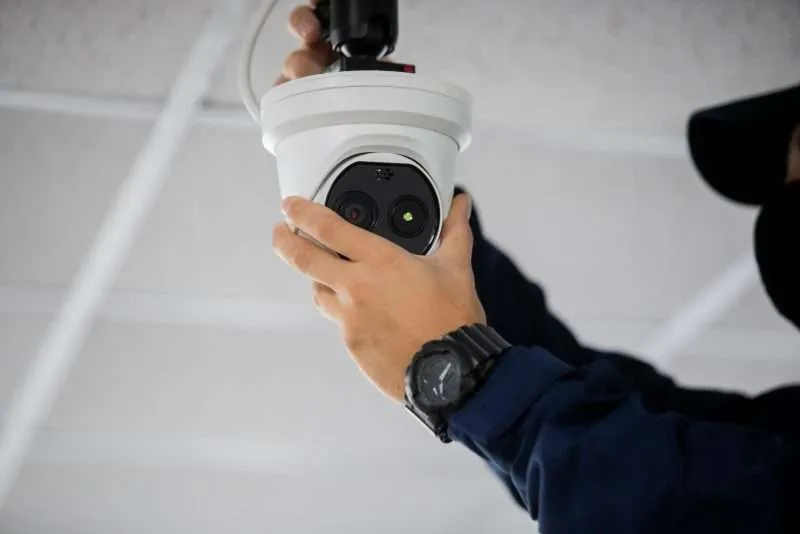
Today, we are in the era of Artificial Intelligence (AI) and edge analytics. Modern cameras can “see” objects and classify them as humans or vehicles. Yet, this technology has introduced a new class of mistakes. Installers now rely too heavily on software to “fix” poor physical installation. If a camera is mounted too high, the AI may struggle to recognize a human shape from a “bird’s eye” perspective, leading to failed alerts regardless of how advanced the algorithm may be.
Conceptual Frameworks: The Physics of Placement
To avoid systemic errors, one must apply specific mental models derived from optics and security logic.
The D.O.I. Pyramid (Detect, Observe, Identify)
This framework dictates that every camera must have a primary purpose.
-
Detection: To see if something is there (requires ~20 PPF).
-
Observation: To see what is there (requires ~60 PPF).
-
Identification: To see who is there (requires ~100+ PPF).
Most mistakes occur when an installer tries to achieve “Identification” with a “Detection” FOV.
The Fresnel Zone and Reflection Logic
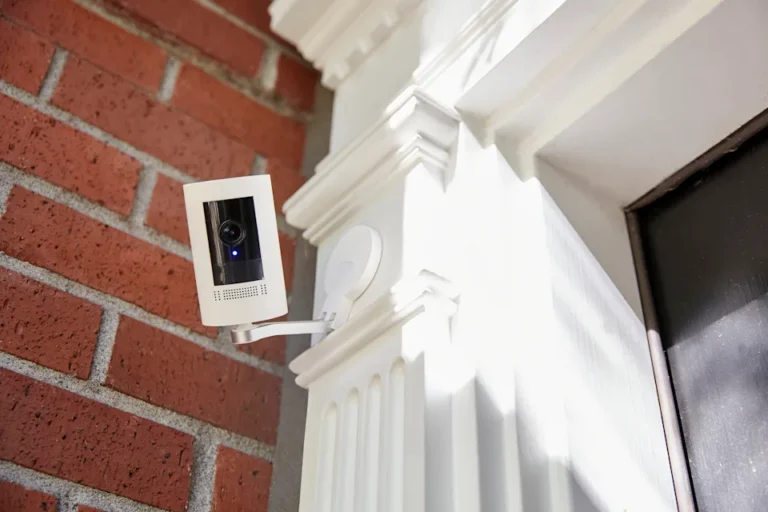
This model considers how light and signals interact with surfaces. In an outdoor setting, the ground, walls, and even foliage act as reflectors. A camera mounted too close to a white soffit will experience “IR Washout” at night, as its own light bounces off the soffit and blinds the sensor, leaving the actual subject in darkness.
The Mounting Height Paradox
There is a constant tension between security and utility. A camera mounted high (12+ feet) is safe from vandalism but provides a “top-of-head” view that is useless for facial recognition. A camera mounted low (7-8 feet) provides excellent facial detail but is vulnerable to being covered or redirected. A master plan uses both: high cameras for tracking and low cameras for “choke point” identification.
Taxonomy of Technical and Strategic Errors
| Error Category | Specific Mistake | Consequence | Mitigation |
| Optical | Direct solar pathing | Sensor “burn” or total glare washout | Use sunshields or relocate to north-facing |
| Physical | Mounting on unstable surfaces | Vibration-induced motion blur | Use rigid masonry or specialized poles |
| Electrical | Exposed cabling | Vulnerability to tampering; weather corrosion | Use conduit and weather-sealed junction boxes |
| Network | Insufficient upload bandwidth | Dropped frames during critical events | Calculate bitrate; use local SD backup |
| Lighting | Over-reliance on internal IR | “Bug snow” and spider web interference | Use external IR illuminators |
| Strategic | Ignoring “Choke Points” | Missing the subject’s face entirely | Use narrow-angle lenses at entries |
Realistic Decision Logic
When faced with a mounting choice, prioritize the “Sun Path.” A camera with a perfect view that faces the setting sun will be useless during the very hours when many residential burglaries occur. If you must face the sun, the logic dictates using a camera with high “True WDR” (Wide Dynamic Range) and a deep external hood.
Detailed Real-World Implementation Scenarios Common Outdoor Camera Installation Mistakes
Scenario 1: The “Wide-Angle” Driveway
An installer puts a 2.8mm wide-angle camera above the garage to “see the whole street.”
-
The Failure: When a vehicle enters the driveway, the camera captures the car, but the license plate is only 10 pixels wide—unreadable.
-
The Correction: Use a varifocal lens zoomed into the “choke point” where the driveway meets the street, and a second wide-angle camera for context.
Scenario 2: The Eave-Mounted Night Blindness
A camera is tucked high under the eaves of a white house for “discreet” protection.
-
The Failure: At night, the IR light reflects off the white gutter and eaves. The camera’s auto-exposure “dims” the whole image to compensate for the bright eave, making the yard completely black.
-
The Correction: Mount the camera on an extension arm away from the eaves or disable internal IR and use a separate lamp.
Scenario 3: The “Wi-Fi Throttled” Perimeter
A user installs four 4K Wi-Fi cameras at the corners of a brick house.
-
The Failure: The brick walls absorb the 5GHz signal. The cameras constantly drop to 480p resolution or disconnect during rain (which further attenuates Wi-Fi).
-
The Correction: Use hardwired PoE for perimeter cameras. If Wi-Fi is mandatory, use an outdoor-rated Access Point (AP) mounted externally.
Planning, Cost, and Resource Dynamics
The “cost” of common outdoor camera installation mistakes is often deferred. Saving $100 on professional conduit or a better mounting bracket today can result in a $500 repair bill after a season of heavy wind or moisture ingress.
| Resource | Direct Cost | Indirect Cost (Failure) | Total Value |
| High-Quality Conduit | $50 – $150 | $300 (System short-circuit) | Essential |
| Varifocal Lens | $50 Premium | $0 (Actionable footage) | High |
| Junction Boxes | $20 – $40 | $150 (Corroded connectors) | High |
| Pro-Grade Mounts | $40 – $80 | $100 (Image shake/unusable) | Essential |
The opportunity cost of a failed installation is the most significant factor. If the system fails to provide a clear image during a single event, the entire investment—regardless of price—has been wasted.
Tools, Strategies, and Support Systems
-
Varifocal Lenses: These allow the installer to “frame” the shot perfectly after the camera is mounted, eliminating the mistake of a FOV that is too wide.
-
P-Iris Control: In outdoor environments, this allows the camera to maintain a better “depth of field,” keeping both foreground and background in focus as light levels change.
-
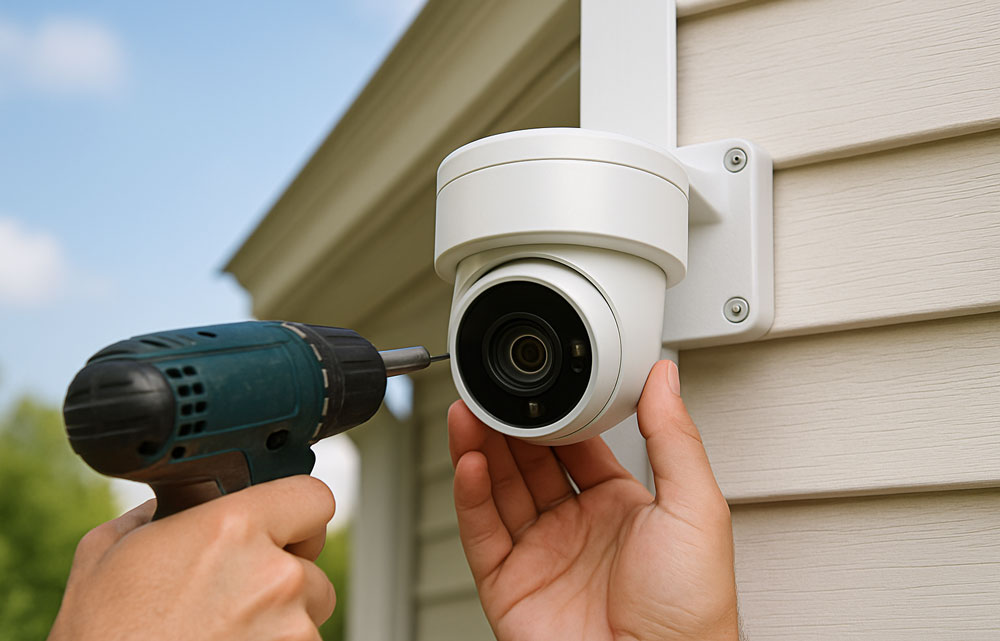
Torque-Wrenches: Over-tightening or under-tightening mounting screws leads to physical failure over time; using proper torque ensures the camera stays aimed during high winds.
-
Surge Protectors (In-Line): For PoE runs longer than 100 feet, an in-line surge protector is vital to prevent a lightning strike near the camera from frying the expensive network switch inside.
-
Drip Loops: A simple strategy of looping the cable downward before it enters the wall ensures that rainwater drips off the wire rather than running into the electrical port.
-
Bitrate Calculators: Tools that predict how much network “pipe” a camera will use, preventing the mistake of saturating the home or office network.
Risk Landscape and Compounding Failure Modes
Surveillance systems suffer from “correlated failures.” One mistake often triggers another.
-
The Humidity Loop: Using a non-weather-rated junction box leads to moisture buildup. This moisture causes the camera’s internal heater to run constantly. The constant heat then attracts spiders, who spin webs across the lens. The IR light reflects off the webs, blinding the camera. A simple failure in “weatherproofing” has led to “optical failure.”
-
The Bandwidth Crash: An installer sets all cameras to “Constant Bitrate” (CBR) at high quality. During a storm, the movement of leaves causes every camera to try to send maximum data at once. This crashes the local router, and the footage of the actual breach is never sent to the NVR.
Governance, Maintenance, and Long-Term Adaptation
A successful installation is a living entity. It requires a governance structure that moves from “Installation” to “Operation.”
The Maintenance Lifecycle
-
Quarterly: Visual inspection of conduit for UV damage or rodent gnawing. Wiping the lens with an anti-static cloth to prevent “haloing.”
-
Semi-Annually: Verifying the “Aim.” Wind and thermal expansion can cause mounts to drift by several degrees over six months.
-
Annually: Testing the “Backup.” Simulating a power outage to ensure the UPS and local SD cards function as intended.
Adjustment Triggers
If a new streetlamp is installed, or if the neighbor’s tree grows 3 feet, the camera’s exposure settings or FOV must be adjusted. Ignoring environmental growth is a common “post-installation” mistake.
Measurement, Tracking, and Evaluation
How do we quantify a “good” installation? We use specific metrics:
-
Pixels Per Foot (PPF): Measure the actual resolution at the target zone (e.g., the front gate). If it’s under 100 PPF, you cannot guarantee facial identification.
-
Uptime Percentage: Tracking how often the camera drops from the network. A healthy system should be at 99.9%.
-
The “Night vs. Day” Delta: Comparing the clarity of an image at noon and midnight. If the midnight image has more than 20% “noise” (graininess), the lighting or sensor gain is incorrectly configured.
Common Misconceptions and Oversimplifications
-
Myth: “Higher is always better.”
-
Correction: High mounts prevent vandalism but capture “top-of-head” shots. 8–10 feet is usually the “sweet spot” for identification.
-
-
Myth: “My camera is waterproof, so I don’t need a junction box.”
-
Correction: The camera is waterproof, but the connector (where it plugs into the house wire) is the point of failure. It must be protected.
-
-
Myth: “I can just digital zoom later.”
-
Correction: Digital zoom only enlarges existing pixels. It cannot create detail that wasn’t captured. Optical zoom (at the lens) is the only way to get more detail.
-
-
Myth: “IR ‘Night Vision’ range is literal.”
-
Correction: A “100ft IR” rating means you can see a large white object at 100ft. To see a person clearly, you usually need to be within 50% of the rated range.
-
Synthesis of Surveillance Integrity
The elimination of common outdoor camera installation mistakes is not a matter of budget, but of discipline. It requires the installer to think like an intruder, an engineer, and an artist simultaneously. By respecting the laws of optics, protecting the integrity of the network, and acknowledging the power of the environment, a surveillance system can be transformed from a passive recording device into an active security shield.
Ultimately, the goal is to create a system that is “invisible” in its reliability. When the physical and optical foundations are set correctly, the technology can perform its intended function without the constant need for digital apologies or manual intervention. A masterfully installed camera is a silent sentinel that provides the one thing more valuable than hardware: clear, actionable truth.